

No products in the basket.
Presets are a great place to start, but at some point you want the sound in your head, not the one somebody else made. That’s sound design. It sounds technical, but every synth works with one of a handful of ideas, and once you know them you can find your way on any synth. Here is a short tour of the main types of synthesis: what they are, what they’re good at, and where to find them in Ableton Live.
Subtractive synthesis: the foundation
This is where everybody should start, because almost every other type builds on it. You begin with a rich waveform and take things away. The building blocks:
- Oscillator: makes the raw sound. A sine is pure and round (subs), a triangle soft, a saw bright and buzzy (leads, pads, house stabs), a square hollow (basses, retro sounds).
- Filter: decides how bright the sound is. A low-pass filter removes the highs; resonance adds that squelchy, vocal character at the cutoff.
- Envelopes: attack, decay, sustain and release shape how a note starts and ends. Short and snappy for plucks and stabs, slow for pads. Point an envelope at the filter and the sound opens up on every note.
- LFOs: slow waves that move a knob for you: a breathing filter, vibrato, a rhythmic pulse synced to the tempo.
- Width and character: a second detuned oscillator, unison or a bit of analog drift make the sound wider and more alive. Effects like chorus, reverb, delay and drive finish it.
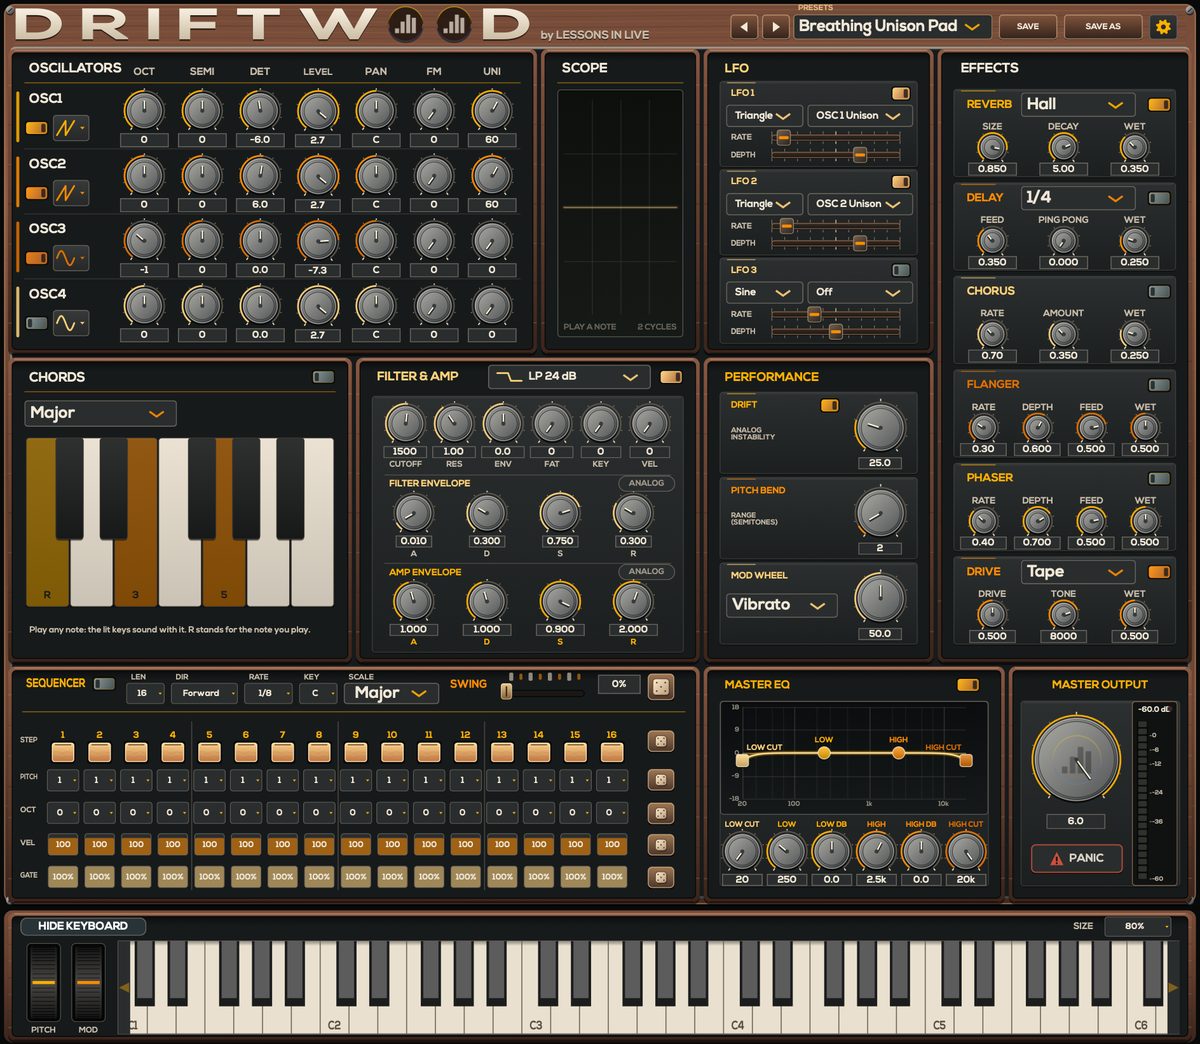
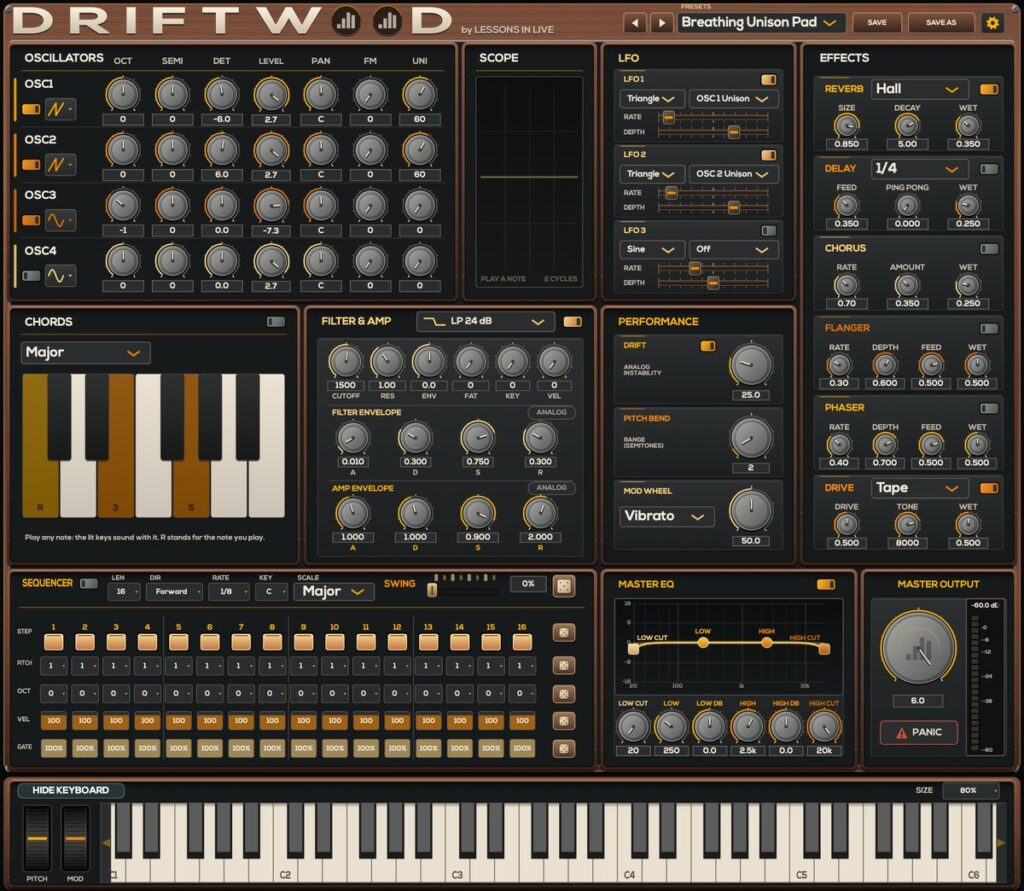
In Live: Analog and Drift. Tip: my own synth Driftwood puts all of this on one screen: four oscillators with detune and unison, a fat filter with four characters (from clean to acid), envelopes, three LFOs, analog drift and six effects, plus chords and a 16-step sequencer.
FM synthesis: metallic, glassy and punchy
In FM (frequency modulation) one oscillator doesn’t make sound itself: it wobbles the pitch of another one, so fast that you don’t hear vibrato but new overtones. The ratio between the two decides the character: simple ratios sound musical, odd ratios sound metallic and bell-like. FM is brilliant for electric pianos, bells, plucky basses, and also for drums: a sine with a fast pitch envelope and a bit of FM is a kick, add noise and you have a snare. In Live: Operator.
Additive synthesis: building a sound from sines
Additive works the other way around from subtractive: instead of starting rich and filtering, you start with nothing and add sine waves (harmonics) one by one, each with its own level. Every sound can in theory be built like this, which makes it great for organ-like tones, pure pads and evolving, shimmering textures. In Live you can draw your own harmonics in Operator’s oscillator waveform editor.
Wavetable synthesis: sounds that morph
A wavetable is a row of different waveforms. Instead of one fixed shape, the oscillator can sweep through the table, so the sound changes character while you play: from soft to harsh, from vocal to metallic. Put an LFO or envelope on the position and the sound moves on its own. Perfect for modern basses, leads and evolving pads. In Live: Wavetable.
Granular synthesis: clouds of tiny grains
Granular cuts a sound (a sample or a waveform) into tiny grains of a few milliseconds and plays many of them at once, each with its own position, pitch and pan. Play with grain size, density and spray and a simple vocal or chord turns into an ambient pad, a shimmering texture or something completely unrecognisable. In Live 12 Suite: Granulator III. Tip: Powerhouse combines wavetable and granular in one synth: four oscillators that sweep through their tables or turn into clouds of grains.
Modular synthesis: build the synth yourself
On a modular synth nothing is wired for you. Oscillators, filters, envelopes, LFOs, sequencers and effects are separate modules, and you connect them with cables. That means you can patch any of the types above, and things no fixed synth can do: an LFO that modulates another LFO, a sequencer driving the filter, feedback loops. It’s the best way to really understand how sound works, because you build every connection yourself. Tip: Lil Modular brings 30 Eurorack-style modules and polyphonic cables right inside Ableton Live.
The best assignment: one synth, one whole track
If you do one thing after reading this, do this: make a complete track with only one synth. Every sound from scratch: the bass, the chords, the lead, the pads, the FX, and yes, also the drums. A kick is a sine with a fast pitch envelope, a hi-hat is filtered noise with a short decay, a snare is a tone plus noise. You’ll be forced to understand every knob, and it’s the fastest way I know to learn how sound design really works. You’ll also find your own sound on the way.
Learn it step by step
Sound design is a big part of my Intermediate and Advanced courses. We go through all of these forms of synthesis, from subtractive to FM, wavetable, granular and modular, and you get assignments to practise them, including the one-synth track above. Want to start on your own? In the online course Sound Design with Analog I build sounds from scratch with you, knob by knob. And if you want synths to practise on, every Lessons in Live plug-in has a free 30-day trial: Driftwood, Powerhouse and Lil Modular.