

No products in the basket.
Resampling is one of my favourite ways to create unique sounds. The idea is simple: you record the output of Ableton Live back into Live, and then you process that recording again. Repeat a few times and one simple sound becomes something nobody else has. Here is how it works and how I use it.
How to set up resampling
Create a new audio track and set its “Audio From” input to Resampling. Arm the track and hit record: everything you hear from the master is recorded as audio. If you only want to record one track, set the input to that track instead (and choose Post FX to include its effects). You can also freeze a track and choose Flatten to commit it to audio.
Step 1: start with something simple
Take a short chord, a vocal snippet or a single synth note. Even a door slam recorded with your phone works. The less “finished” the source, the more room you have to shape it.
Step 2: stretch, pitch and reverse
Drop the recording into Simpler or Sampler. Pitch it down an octave for a darker tone, reverse it for swells, or switch the clip’s warp mode to Texture or Complex Pro and stretch it far beyond its original length. Extreme stretching creates grainy textures that are perfect for pads and atmospheres.
Step 3: process and resample again
Run the sound through effects: a long reverb, a resonant filter, saturation, a delay with feedback. Live 12 Suite users can try Roar for heavy colouring or Granulator III for granular textures. Record the result to a new track and start again from step 2. After two or three rounds, the sound has its own character.
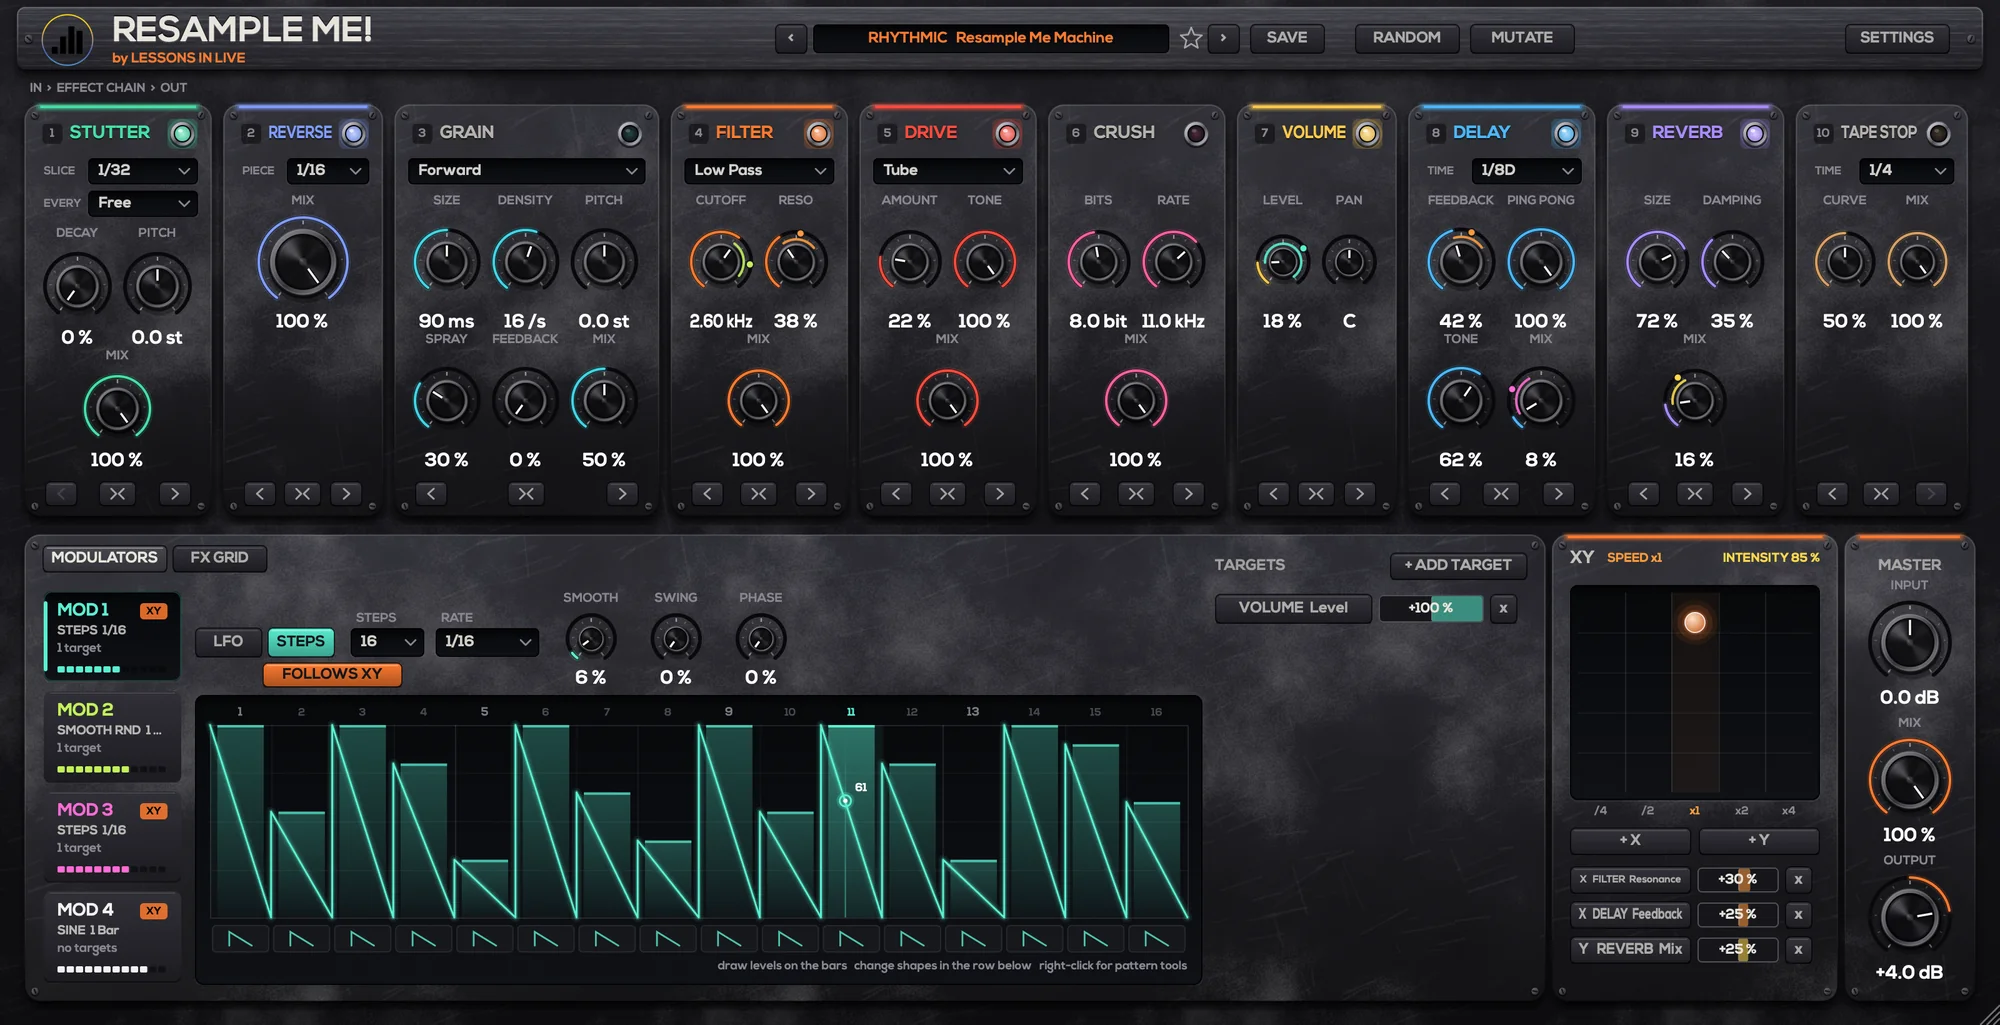
Tip: I built my own plug-in for exactly this step: Resample Me. It puts ten effects in one chain you can reorder (filter, drive, crush, volume, delay, reverb, stutter, tape stop, reverse and grain), lets four tempo-synced modulators move any knob, and has an XY pad and an effects grid to play it all by hand. Put it on your source sound, press RANDOM or MUTATE until something catches your ear, record the result to a new track and go again. It’s the fastest way I know to turn one boring loop into five usable variations.
Step 4: slice it into new ideas
Right-click an audio clip and choose Slice to New MIDI Track. Live cuts it into pieces and maps them to a drum rack. Now you can play your resampled sound as percussion, stabs or a rhythmic fill. Some of my favourite toploops started like this.
Step 5: build the track around it
Use the same source for different roles: a pitched-down version as a bass, a stretched version as the pad, short slices as percussion and a reversed tail as a transition FX. Because everything comes from the same sound, the track feels coherent automatically.
Why resampling helps you finish music
Resampling forces you to make decisions. Once a sound is printed to audio, you stop tweaking presets and start arranging. It also saves CPU, which keeps big projects running smoothly.
Get started faster
Resample Me is the multi-effect I use for all of the above, made for resampling in Ableton Live. It runs on Mac and Windows as a VST3 plug-in, as an Audio Unit for Logic Pro and GarageBand on Mac, and as a standalone app, and comes with 106 presets to start from. You can try it free for 30 days, and after that it’s €19,95. Want my synths too? The Complete Bundle gives you Resample Me, Driftwood and all my other plug-ins together for €165.
Looking for quality raw material to resample? The Lessons in Live sample packs are full of loops, one-shots and chords that are perfect for this. And if you want to dive deep into sound design with Simpler, Sampler, Wavetable and effects, check the courses and the sound design bootcamps.